[Windows] Display System Buttons in a PyQt5 Frameless Window
Introduction
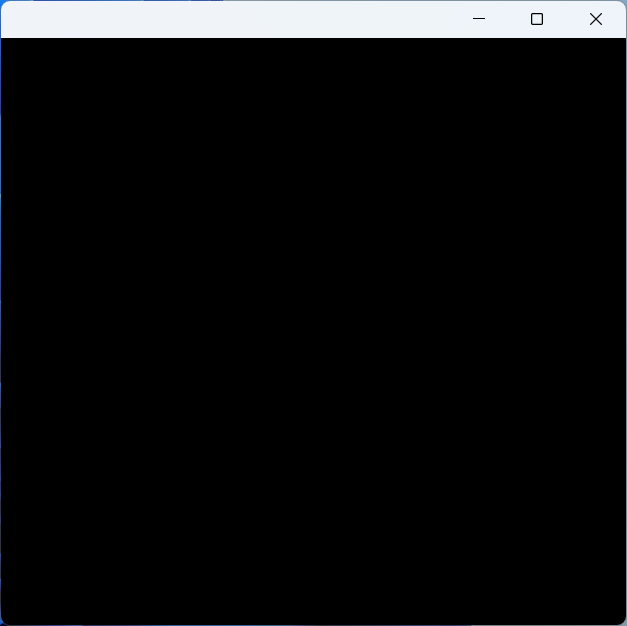
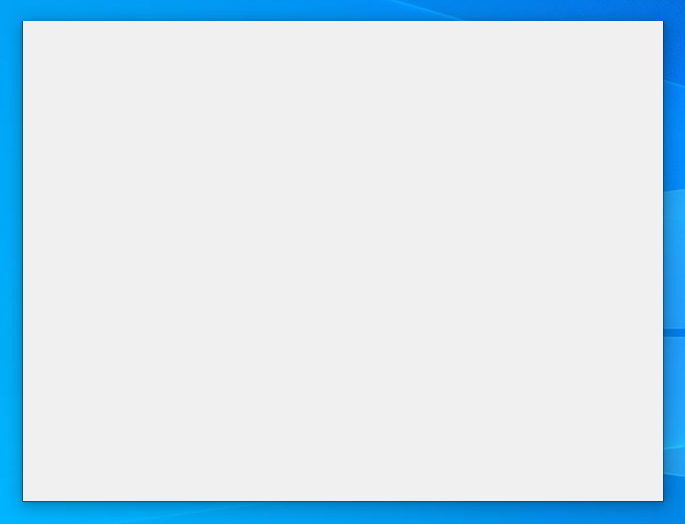
When using many software applications on Windows, we sometimes notice that some windows look a bit unusual, like these:


As we know, (normally) the content on the window border is managed by the operating system, and applications cannot interfere. However, these windows can place their own controls on the title bar while retaining the system's native title bar buttons. How is this achieved?
TIP
The Python version used in this article is 3.11.9 or 3.8.10 (on Win7), PyQt5 version is 5.15.9. The code has been tested on Windows 7 (6.1), 10 (10.0.19045), and 11 (10.0.22621 and above).
In theory, this should work on any Windows Vista and above system that can use PyQt5, PyWin32, and ctypes.
--- Let's Begin ---
1. First, Get a Frameless Window
Let's look at the code:
from ctypes.wintypes import LPRECT, MSG
from PyQt5.QtWidgets import QApplication, QWidget
from PyQt5.QtCore import Qt
import win32con


class Window(QWidget):
    def __init__(self, parent = None):
        super().__init__(parent=parent)

    def nativeEvent(self, eventType, message):
        msg = MSG.from_address(int(message))
        if not msg.hWnd:
            return super().nativeEvent(eventType, message)

        if msg.message == win32con.WM_NCCALCSIZE:
            return True, 0

        return super().nativeEvent(eventType, message)

if __name__ == '__main__':
    QApplication.setHighDpiScaleFactorRoundingPolicy(
        Qt.HighDpiScaleFactorRoundingPolicy.PassThrough)
    QApplication.setAttribute(Qt.AA_EnableHighDpiScaling)
    QApplication.setAttribute(Qt.AA_UseHighDpiPixmaps)

    app = QApplication([])
    win = Window()
    win.show()
app.exec()This "frameless" approach might differ from the code you usually use. It doesn't modify windowFlags. Instead, it removes the standard window frame by handling the WM_NCCALCSIZE event in nativeEvent, making the window "frameless" while retaining its original windowFlags.
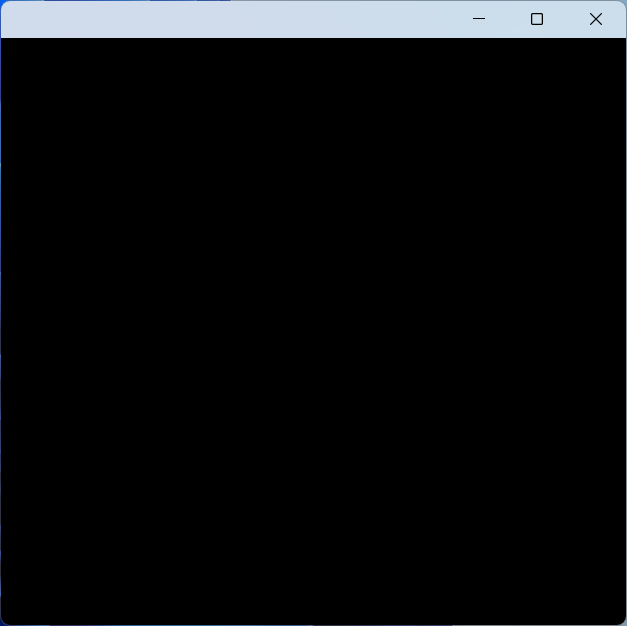
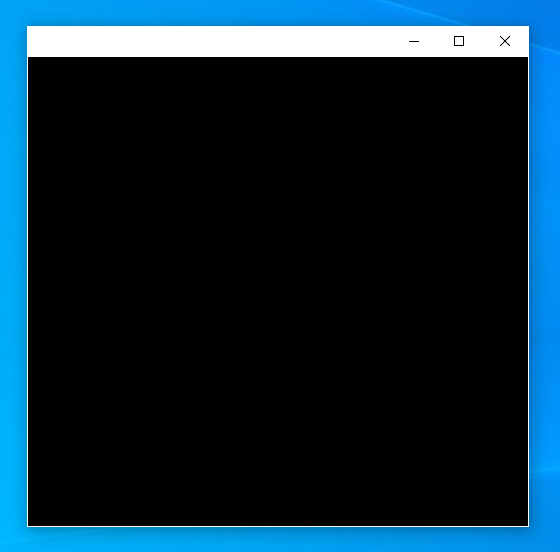
The result looks like this:
The difference from the ordinary Qt.FramelessWindowHint is that it has a system menu (try pressing Alt + Space), and it can be maximized and minimized.
2. Add Window Shadows
Let's look at the code again:
import ctypes
from ctypes.wintypes import MSG
from ctypes.wintypes import LPRECT, MSG
from PyQt5.QtWidgets import QApplication, QWidget
from PyQt5.QtCore import Qt
from qframelesswindow.utils import win32_utils
from qframelesswindow.windows.c_structures import LPNCCALCSIZE_PARAMS
import win32con
import win32gui
import win32api

class Window(QWidget):
    def __init__(self, parent = None):
        super().__init__(parent=parent)
        self.thick = win32_utils.getResizeBorderThickness(int(self.winId()), False)

        self.updateFrame()

    def updateFrame(self):
        win32gui.SetWindowPos(int(self.winId()), None, 0, 0, 0, 0,
            win32con.SWP_NOMOVE | win32con.SWP_NOSIZE | win32con.SWP_FRAMECHANGED)

    def nativeEvent(self, eventType, message):
        msg = MSG.from_address(int(message))
        if not msg.hWnd:
            return super().nativeEvent(eventType, message)

        if msg.message == win32con.WM_NCHITTEST:
            xPos, yPos = win32gui.ScreenToClient(msg.hWnd, win32api.GetCursorPos())
            clientRect = win32gui.GetClientRect(msg.hWnd)

            w = clientRect[2] - clientRect[0]
            h = clientRect[3] - clientRect[1]

            bw = self.thick
            lx = xPos < bw  # left
            rx = xPos > w - bw  # right
            ty = yPos < bw  # top
            if lx and ty:
                return True, win32con.HTTOPLEFT
            elif rx and ty:
                return True, win32con.HTTOPRIGHT
            elif ty:
                return True, win32con.HTTOP

        if msg.message == win32con.WM_NCCALCSIZE:
        elif msg.message == win32con.WM_NCCALCSIZE and hasattr(self, 'thick'):
            if msg.wParam:
                rect = ctypes.cast(msg.lParam, LPNCCALCSIZE_PARAMS).contents.rgrc[0]
            else:
                rect = ctypes.cast(msg.lParam, LPRECT).contents

            # rect.top += self.thick
            rect.bottom -= self.thick

            rect.left += self.thick
            rect.right -= self.thick
            return True, 0

        elif msg.message == 0x02E0:  # WM_DPICHANGED
            self.thick = win32_utils.getResizeBorderThickness(int(self.winId()), False)
            self.updateFrame()

        return super().nativeEvent(eventType, message)

if __name__ == '__main__':
    QApplication.setHighDpiScaleFactorRoundingPolicy(
        Qt.HighDpiScaleFactorRoundingPolicy.PassThrough)
    QApplication.setAttribute(Qt.AA_EnableHighDpiScaling)
    QApplication.setAttribute(Qt.AA_UseHighDpiPixmaps)

    app = QApplication([])
    win = Window()
    win.show()
app.exec()IMPORTANT
This code uses a window library called PyQt5-Frameless-Window, which encapsulates a cross-platform frameless window. In this article, I only use the C structures, some utility functions, and other elements from the implementation details of this library, not the library's window part itself.
First, let's look at nativeEvent. In the part handling WM_NCCALCSIZE (L29~38), I've added some calculations. These calculations can change the margins of the window's Non-Client Area (NCA), making the resizable border behave identically to the standard window frame's border (essentially, it delegates the left, bottom, and right border areas to the standard window frame, so it will have shadows and the same resizing behavior as a "window with a frame").
At this point, observant readers might have a question:
Why not adjust the top border margin as well?
Well, you really can't adjust all four borders; otherwise, you'll get strange results. Feel free to try it yourself, haha.
Next up is WM_NCHITTEST: This compensates for not adjusting the top border — with this, the top border can also be used for resizing.
Alright, let's look at WM_DPICHANGED below (the constant I used from win32con doesn't have this one). This handling is mainly to match the resizeBorderThickness to the new DPI when the DPI changes, adjusting the window margins to the new size.
Now let's look at updateFrame. This is important: Without this, it's likely that after the window appears, you'd need to manually resize it for it to become a frameless window. The purpose of this function is to automatically refresh the frame.
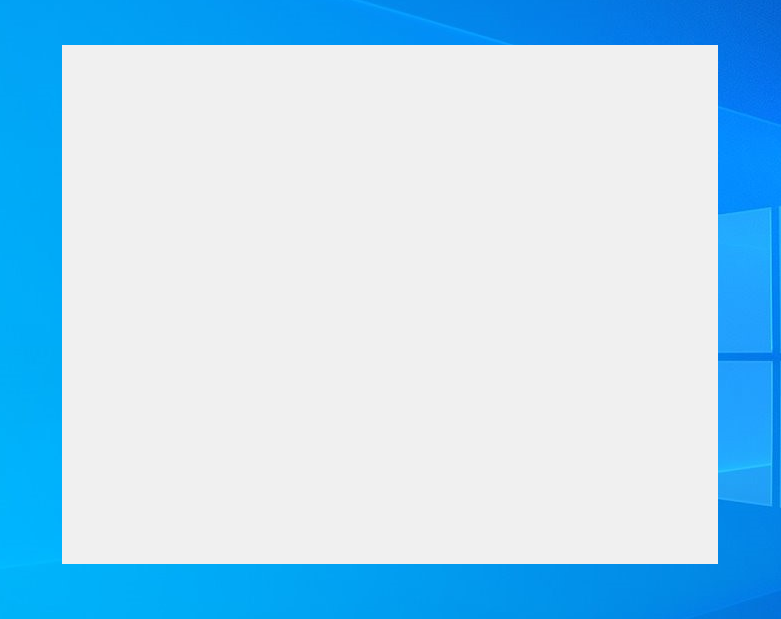
Okay, let's see the effect:
Now that we have shadows and can resize, it's time to get back to the main topic:
3. Custom Title Bar + System Buttons
As usual, let's look at the code first:
import ctypes
from ctypes import POINTER
from ctypes.wintypes import LPRECT, MSG
from PyQt5.QtWidgets import QApplication, QWidget
from PyQt5.QtCore import Qt
from qframelesswindow import StandardTitleBar, WindowEffect
from qframelesswindow.utils import win32_utils
from qframelesswindow.windows.c_structures import LPNCCALCSIZE_PARAMS, MARGINS
import win32con
import win32gui
import win32api

class Window(QWidget):
    def __init__(self, parent = None):
        super().__init__(parent=parent)
        self.titleBar = StandardTitleBar(self)
        self.titleBar.minBtn.hide()
        self.titleBar.maxBtn.hide()
        self.titleBar.closeBtn.hide()
        self.windowEffect = WindowEffect(None)
        self.thick = win32_utils.getResizeBorderThickness(int(self.winId()), False)

        self.DwmDefWindowProc = self.windowEffect.dwmapi.DwmDefWindowProc
        self.DwmDefWindowProc.argtypes = [ctypes.c_uint,
            ctypes.c_uint, ctypes.c_uint, ctypes.c_uint, POINTER(ctypes.c_ulong)]
        self.DwmDefWindowProc.restype = ctypes.c_bool

        self.setStyleSheet('Window{background:transparent;}')

        self.resize(500, 500)
        self.updateFrame()

    def updateFrame(self):
        margins = MARGINS(0, 0,
            win32_utils.getSystemMetrics(int(self.winId()), 4, True) + self.thick, 0)
        self.windowEffect.DwmExtendFrameIntoClientArea(int(self.winId()),
            ctypes.byref(margins))
        win32gui.SetWindowPos(int(self.winId()), None, 0, 0, 0, 0,
            win32con.SWP_NOMOVE | win32con.SWP_NOSIZE | win32con.SWP_FRAMECHANGED)

    def resizeEvent(self, e):
        super().resizeEvent(e)
        if hasattr(self, 'titleBar'):
            self.titleBar.resize(e.size().width(), self.titleBar.height())

    def nativeEvent(self, eventType, message):
        msg = MSG.from_address(int(message))
        if not msg.hWnd:
            return super().nativeEvent(eventType, message)

        lRet = ctypes.c_ulong()
        if (hasattr(self, 'DwmDefWindowProc') and
            self.DwmDefWindowProc(msg.hWnd,
                                  msg.message,
                                  msg.wParam,
                                  msg.lParam,
                                  ctypes.byref(lRet))):
            return True, lRet.value

        if msg.message == win32con.WM_NCHITTEST:
            xPos, yPos = win32gui.ScreenToClient(msg.hWnd, win32api.GetCursorPos())
            clientRect = win32gui.GetClientRect(msg.hWnd)

            w = clientRect[2] - clientRect[0]
            h = clientRect[3] - clientRect[1]

            bw = self.thick
            lx = xPos < bw  # left
            rx = xPos > w - bw  # right
            ty = yPos < bw  # top
            if lx and ty:
                return True, win32con.HTTOPLEFT
            elif rx and ty:
                return True, win32con.HTTOPRIGHT
            elif ty:
                return True, win32con.HTTOP

        elif msg.message == win32con.WM_NCCALCSIZE and hasattr(self, 'thick'):
            if msg.wParam:
                rect = ctypes.cast(msg.lParam, LPNCCALCSIZE_PARAMS).contents.rgrc[0]
            else:
                rect = ctypes.cast(msg.lParam, LPRECT).contents

            # rect.top += self.thick
            rect.bottom -= self.thick

            rect.left += self.thick
            rect.right -= self.thick
            return True, 0

        elif msg.message == 0x02E0:  # WM_DPICHANGED
            self.thick = win32_utils.getResizeBorderThickness(int(self.winId()), False)
            self.updateFrame()

        return super().nativeEvent(eventType, message)

if __name__ == '__main__':
    QApplication.setHighDpiScaleFactorRoundingPolicy(
        Qt.HighDpiScaleFactorRoundingPolicy.PassThrough)
    QApplication.setAttribute(Qt.AA_EnableHighDpiScaling)
    QApplication.setAttribute(Qt.AA_UseHighDpiPixmaps)

    app = QApplication([])
    win = Window()
    win.show()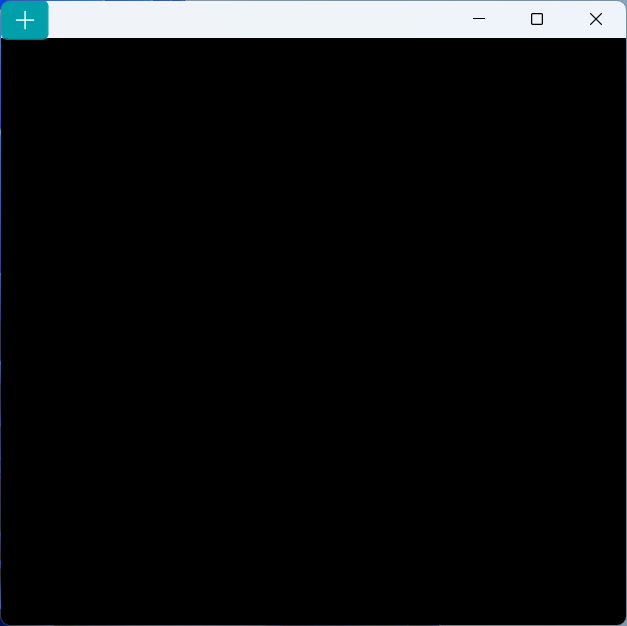
app.exec()Now let's see the effect:
Look at __init__. A titleBar has been added. This is the standard title bar from PyQt5-Frameless-Window, which includes a window icon, title, and three buttons. In this example, we have system buttons, so we don't need the buttons provided by the title bar and hide them.
There's also DwmDefWindowProc in __init__. This is a very important Windows API function, exported by dwmapi.dll. We declare its parameter and return types here; we'll discuss its purpose later.
Next is a call to setStyleSheet to clear the theme's default background. Due to DWM's characteristics, system buttons are at the bottom of the window control Z-order (below the background). Therefore, controls or the background can obscure the system buttons.
Then, we resize the window because adding controls would otherwise make the window very small (the initial size of StandardTitleBar).
In the updateFrame method, the call to DwmExtendFrameIntoClientArea extends the top part of the window frame down into the client area by the height of a standard title bar (note, this isn't hardcoded to 32px, but obtained from the GetSystemMetrics function: the title bar height plus the resizing border thickness). Within this extended area, the system provides the system buttons. Therefore, this is the most crucial part.
Next, the code in the resizeEvent handler simply adjusts the title bar control to match the window's width.
Then we enter the most important nativeEvent! Here, the DwmDefWindowProc function is called. Its role is to handle interactions with the system buttons, such as hover, click, leave, etc. Without this part, the system buttons would be just decorative and non-functional.
Some details need clarification here:
As you might have noticed, similar to Windows Explorer, the window border becomes white. This issue only occurs on Windows 10; other versions don't exhibit it:
- When the values in the
MARGINSstructure passed toDwmExtendFrameIntoClientAreaare all non-negative, the window border is white. - When the
MARGINSstructure contains negative values, the window border... doesn't show up at all! - When all values in the
MARGINSare 0 (the default case), the window border is the normal dark gray (which may vary with the theme mode).
- When the values in the
When maximized, the part of the window "title bar" with the height of
resizeBorderThicknessgets pushed off-screen. This is probably to prevent users from resizing the window when maximized, but... this operation is quite peculiar! Why not just disable it, and instead move the resizable area off-screen? But this is a rule set by Microsoft, and we can't change it. To prevent controls on the title bar from not centering vertically, you can adjust the title bar's height, reposition the window's controls, or adjust the layout'scontentsMargins(if any).Actually, there is a simpler method. You can check if the window is maximized while handling
WM_NCCALCSIZEand adjust the top margin accordingly (adjusting all four borders when maximized doesn't cause strange behavior), adding theresizeBorderThicknessto the top. This achieves the effect without modifying window properties. Unfortunately, this method is not friendly to windows containing system buttons, because adjusting the top margin when maximized causes the system buttons to stop responding again (not sure if it's a bug). So, other methods must be tried.
Through the content above, you now have a window containing system buttons. The buttons on this window can automatically switch according to the theme's button styles. Go ahead and use it!
Remarks
The system button window implemented through the above method is not perfect because it does not support opening the system menu by clicking the window icon or right-clicking the title bar. I have implemented a version here that includes a system menu, but it still has some issues. Feel free to check it out if you're interested!
Regarding the maximization issue, Chromium seems to have a good solution, but I haven't looked into it yet.
TIP
Did you know? On Windows 11, starting Chromium with the
--enable-features=Windows11MicaTitlebarparameter launches Chromium with system buttons!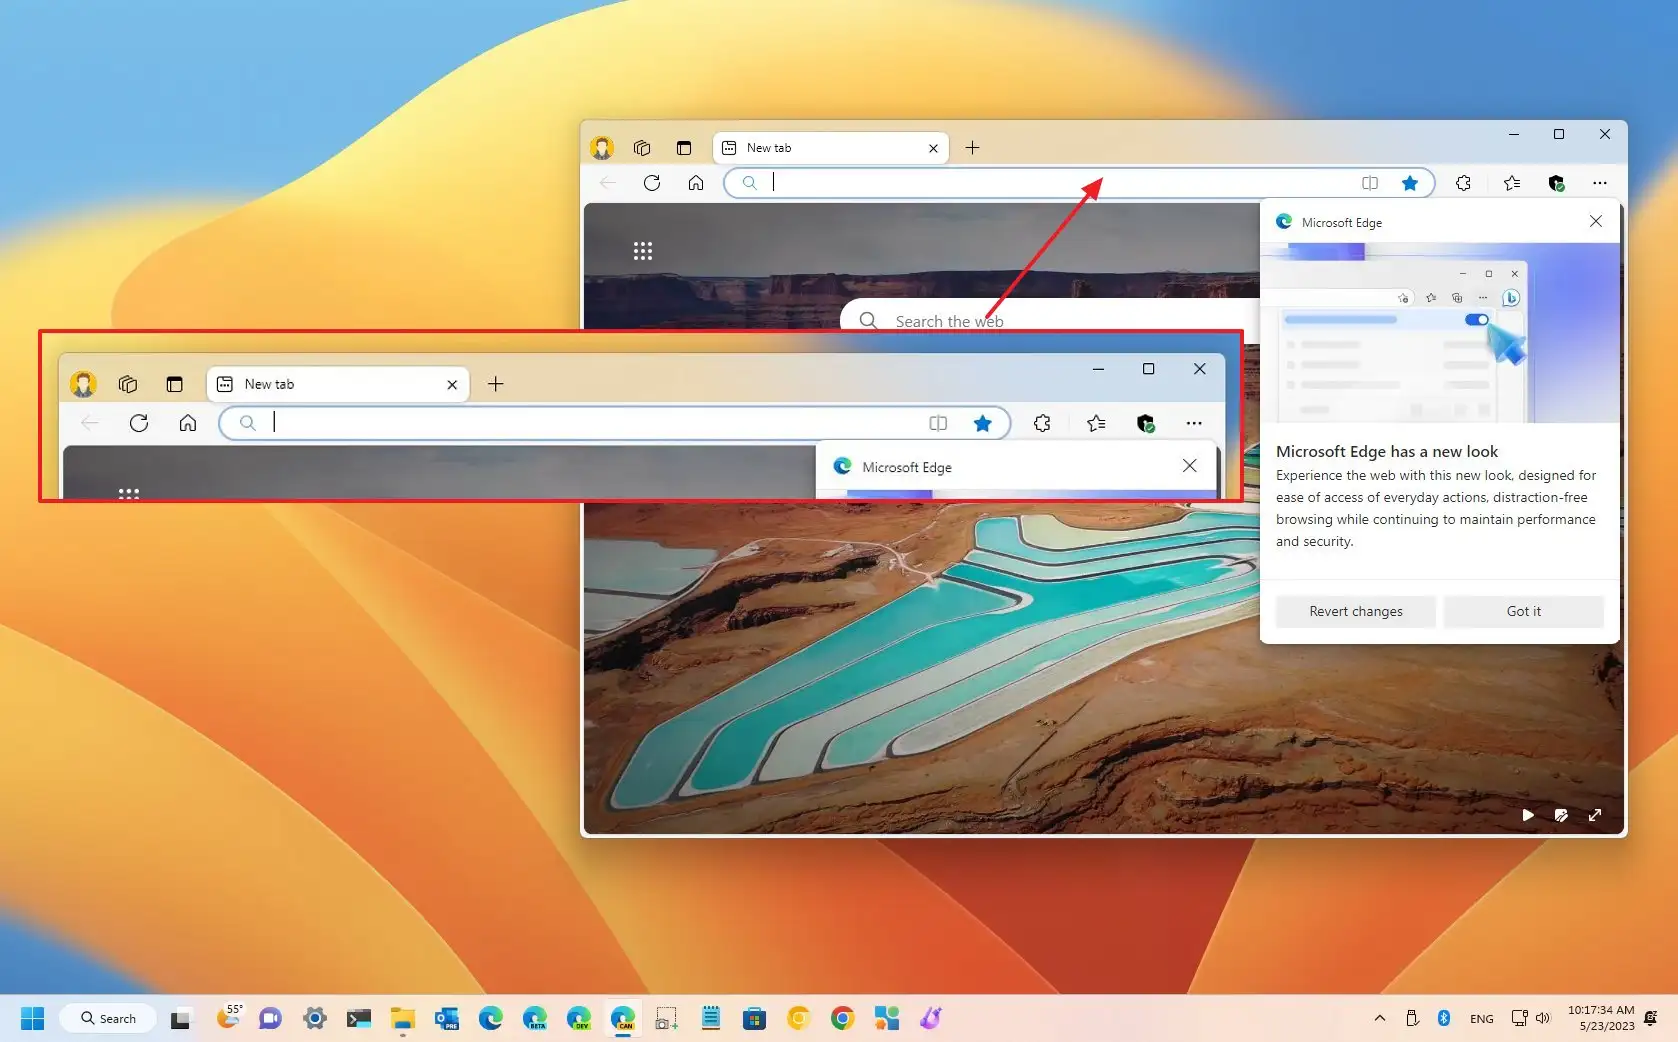
Note: Microsoft Edge in the picture is also based on the Chromium engine. (I probably don't need to mention this)
On Windows 11, the window above might not have the Mica effect. To enable it, simply add the following before the
updateFramecall in__init__:pythonif win32_utils.isGreaterEqualWin11(): self.windowEffect.setMicaEffect(self.winId()) # or use self.windowEffect.setMicaEffect(self.winId(), False, True) to enable MicaAlt effectYou will then see the Mica effect on the title bar. For more information about
WindowEffect, see window_effect.py.Mica (Alt) Effect