[Windows] 在 PyQt5 的无边框窗口中显示系统按钮
引子
在使用 Windows 上的很多软件的时候,我们会发现有些软件的窗口比较奇怪,就像这些:


我们都知道,(正常情况下)窗口边框上的内容由操作系统进行管理,应用程序是无法触及的,但是这些窗口却可以在标题栏上放置自己的控件,同时保留系统自带的(原生)标题栏按钮,这是怎么做到的呢?
TIP
本文中使用的 Python 版本为 3.11.9 或 3.8.10( 在 Win7 上 ) , PyQt5 版本为 5.15.9 ,并在 Windows 7 (6.1), 10 (10.0.19045), 11 (10.0.22621 以上) 对代码进行了测试
理论上任何能使用 PyQt5、PyWin32、ctypes 的 Windows Vista 及以上的 Windows 都可以使用
--- 正片开始 ---
1. 先得有个无边框窗口
先看代码:
from ctypes.wintypes import LPRECT, MSG
from PyQt5.QtWidgets import QApplication, QWidget
from PyQt5.QtCore import Qt
import win32con


class Window(QWidget):
    def __init__(self, parent = None):
        super().__init__(parent=parent)

    def nativeEvent(self, eventType, message):
        msg = MSG.from_address(int(message))
        if not msg.hWnd:
            return super().nativeEvent(eventType, message)

        if msg.message == win32con.WM_NCCALCSIZE:
            return True, 0

        return super().nativeEvent(eventType, message)

if __name__ == '__main__':
    QApplication.setHighDpiScaleFactorRoundingPolicy(
        Qt.HighDpiScaleFactorRoundingPolicy.PassThrough)
    QApplication.setAttribute(Qt.AA_EnableHighDpiScaling)
    QApplication.setAttribute(Qt.AA_UseHighDpiPixmaps)

    app = QApplication([])
    win = Window()
    win.show()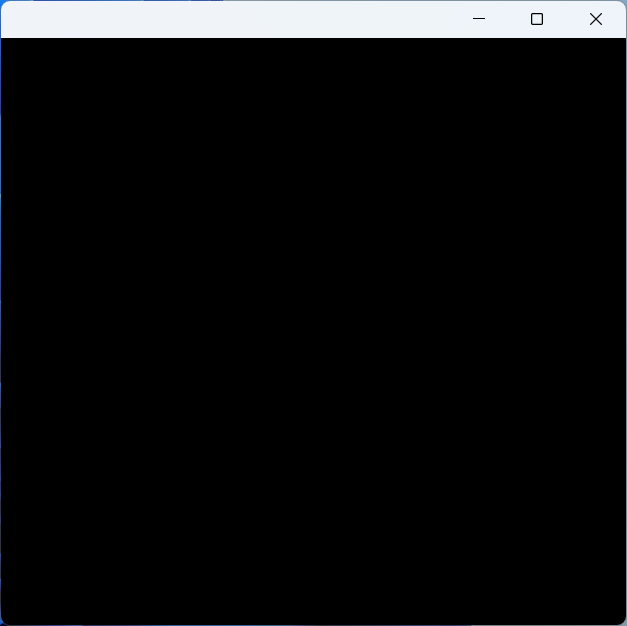
app.exec()这个“无边框”可能与你们经常使用的代码有些不同。它没有修改 windowFlags ,而是通过处理 nativeEvent 的 WM_NCCALCSIZE 删除了窗口的标准窗口框架,使这个窗口在成为了“无边框窗口”的同时保留窗口原有的 windowFlags 。
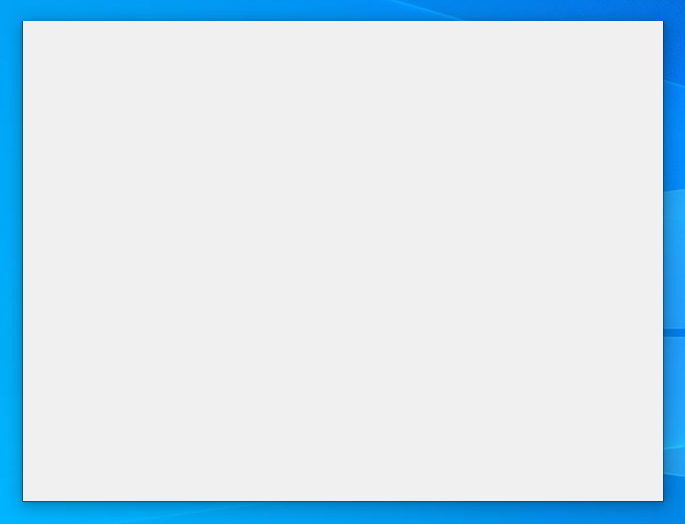
效果如下:
与普通的 Qt.FramelessWindowHint 不同的点在于,它有系统菜单(不信你按下 Alt + Space 试试),能最大化、最小化。
2. 加上窗口阴影
还是先看代码:
import ctypes
from ctypes.wintypes import MSG
from ctypes.wintypes import LPRECT, MSG
from PyQt5.QtWidgets import QApplication, QWidget
from PyQt5.QtCore import Qt
from qframelesswindow.utils import win32_utils
from qframelesswindow.windows.c_structures import LPNCCALCSIZE_PARAMS
import win32con
import win32gui
import win32api

class Window(QWidget):
    def __init__(self, parent = None):
        super().__init__(parent=parent)
        self.thick = win32_utils.getResizeBorderThickness(int(self.winId()), False)

        self.updateFrame()

    def updateFrame(self):
        win32gui.SetWindowPos(int(self.winId()), None, 0, 0, 0, 0,
            win32con.SWP_NOMOVE | win32con.SWP_NOSIZE | win32con.SWP_FRAMECHANGED)

    def nativeEvent(self, eventType, message):
        msg = MSG.from_address(int(message))
        if not msg.hWnd:
            return super().nativeEvent(eventType, message)

        if msg.message == win32con.WM_NCHITTEST:
            xPos, yPos = win32gui.ScreenToClient(msg.hWnd, win32api.GetCursorPos())
            clientRect = win32gui.GetClientRect(msg.hWnd)

            w = clientRect[2] - clientRect[0]
            h = clientRect[3] - clientRect[1]

            bw = self.thick
            lx = xPos < bw  # left
            rx = xPos > w - bw  # right
            ty = yPos < bw  # top
            if lx and ty:
                return True, win32con.HTTOPLEFT
            elif rx and ty:
                return True, win32con.HTTOPRIGHT
            elif ty:
                return True, win32con.HTTOP

        if msg.message == win32con.WM_NCCALCSIZE:
        elif msg.message == win32con.WM_NCCALCSIZE and hasattr(self, 'thick'):
            if msg.wParam:
                rect = ctypes.cast(msg.lParam, LPNCCALCSIZE_PARAMS).contents.rgrc[0]
            else:
                rect = ctypes.cast(msg.lParam, LPRECT).contents

            # rect.top += self.thick
            rect.bottom -= self.thick

            rect.left += self.thick
            rect.right -= self.thick
            return True, 0

        elif msg.message == 0x02E0:  # WM_DPICHANGED
            self.thick = win32_utils.getResizeBorderThickness(int(self.winId()), False)
            self.updateFrame()

        return super().nativeEvent(eventType, message)

if __name__ == '__main__':
    QApplication.setHighDpiScaleFactorRoundingPolicy(
        Qt.HighDpiScaleFactorRoundingPolicy.PassThrough)
    QApplication.setAttribute(Qt.AA_EnableHighDpiScaling)
    QApplication.setAttribute(Qt.AA_UseHighDpiPixmaps)

    app = QApplication([])
    win = Window()
    win.show()
app.exec()IMPORTANT
这段代码使用了一个名为 PyQt5-Frameless-Window 的窗口库,这个库封装了一个跨平台的无边框窗口,在本文中我只使用了此窗口库实现细节中的 C 结构体、一些实用的函数和一些其他的东西,并没有用到这个库的窗口部分。
先来看看 nativeEvent 。我在处理 WM_NCCALCSIZE 的部分添加了一些运算(L29~38),这些运算可以改变窗口的非客户区(Non-Client Area, NCA)的边距,使它能够调整大小的边框与标准的窗口框架的边框行为一致(实际上就是把左、下、右的边框部分让给了标准窗口框架,这样才会有阴影和与“有边框窗口”相同的调整大小的行为。)
那这个时候,仔细观察的小伙伴可能就有疑问了:
那为什么不调整上边框的边距呢?
嗯,确实不能四个边框全都调整,不然就会有奇怪的结果,你可以自己去试试,哈哈。
接下来是 WM_NCHITTEST :这里弥补了不调整上边框的结果——加上这个,上边框也能调整大小了。
好了,我们再来看看下面的 WM_DPICHANGED (我使用的 win32con 里没有这个常量)。这个处理主要是为了在 DPI 改变时能匹配新 DPI 的 resizeBorderThickness ,调整窗口边距为新的大小。
现在来看 updateFrame 。这里很重要:如果不加上这个,很可能窗口出现之后需要手动调整大小才能让你的窗口变成无边框窗口。这个函数的作用就在于自动刷新框架。
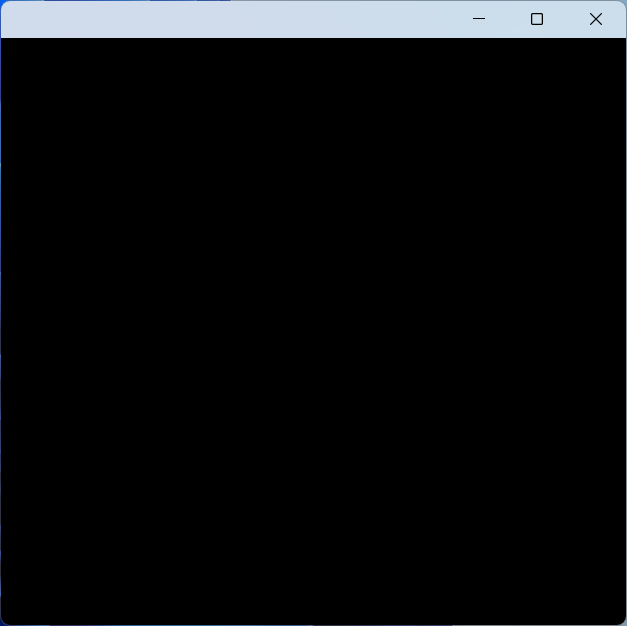
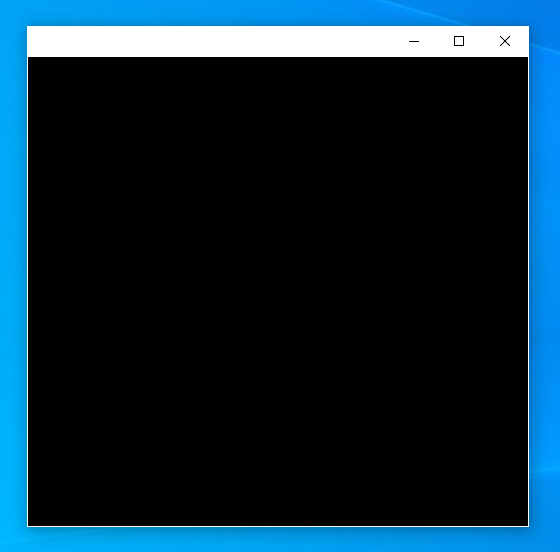
好了,来看效果:
现在有了阴影,能调大小,就该回归正题了:
3. 自定义标题栏 + 系统按钮
老规矩,先看代码:
import ctypes
from ctypes import POINTER
from ctypes.wintypes import LPRECT, MSG
from PyQt5.QtWidgets import QApplication, QWidget
from PyQt5.QtCore import Qt
from qframelesswindow import StandardTitleBar, WindowEffect
from qframelesswindow.utils import win32_utils
from qframelesswindow.windows.c_structures import LPNCCALCSIZE_PARAMS, MARGINS
import win32con
import win32gui
import win32api

class Window(QWidget):
    def __init__(self, parent = None):
        super().__init__(parent=parent)
        self.titleBar = StandardTitleBar(self)
        self.titleBar.minBtn.hide()
        self.titleBar.maxBtn.hide()
        self.titleBar.closeBtn.hide()
        self.windowEffect = WindowEffect(None)
        self.thick = win32_utils.getResizeBorderThickness(int(self.winId()), False)

        self.DwmDefWindowProc = self.windowEffect.dwmapi.DwmDefWindowProc
        self.DwmDefWindowProc.argtypes = [ctypes.c_uint,
            ctypes.c_uint, ctypes.c_uint, ctypes.c_uint, POINTER(ctypes.c_ulong)]
        self.DwmDefWindowProc.restype = ctypes.c_bool

        self.setStyleSheet('Window{background:transparent;}')

        self.resize(500, 500)
        self.updateFrame()

    def updateFrame(self):
        margins = MARGINS(0, 0,
            win32_utils.getSystemMetrics(int(self.winId()), 4, True) + self.thick, 0)
        self.windowEffect.DwmExtendFrameIntoClientArea(int(self.winId()),
            ctypes.byref(margins))
        win32gui.SetWindowPos(int(self.winId()), None, 0, 0, 0, 0,
            win32con.SWP_NOMOVE | win32con.SWP_NOSIZE | win32con.SWP_FRAMECHANGED)

    def resizeEvent(self, e):
        super().resizeEvent(e)
        if hasattr(self, 'titleBar'):
            self.titleBar.resize(e.size().width(), self.titleBar.height())

    def nativeEvent(self, eventType, message):
        msg = MSG.from_address(int(message))
        if not msg.hWnd:
            return super().nativeEvent(eventType, message)

        lRet = ctypes.c_ulong()
        if (hasattr(self, 'DwmDefWindowProc') and
            self.DwmDefWindowProc(msg.hWnd,
                                  msg.message,
                                  msg.wParam,
                                  msg.lParam,
                                  ctypes.byref(lRet))):
            return True, lRet.value

        if msg.message == win32con.WM_NCHITTEST:
            xPos, yPos = win32gui.ScreenToClient(msg.hWnd, win32api.GetCursorPos())
            clientRect = win32gui.GetClientRect(msg.hWnd)

            w = clientRect[2] - clientRect[0]
            h = clientRect[3] - clientRect[1]

            bw = self.thick
            lx = xPos < bw  # left
            rx = xPos > w - bw  # right
            ty = yPos < bw  # top
            if lx and ty:
                return True, win32con.HTTOPLEFT
            elif rx and ty:
                return True, win32con.HTTOPRIGHT
            elif ty:
                return True, win32con.HTTOP

        elif msg.message == win32con.WM_NCCALCSIZE and hasattr(self, 'thick'):
            if msg.wParam:
                rect = ctypes.cast(msg.lParam, LPNCCALCSIZE_PARAMS).contents.rgrc[0]
            else:
                rect = ctypes.cast(msg.lParam, LPRECT).contents

            # rect.top += self.thick
            rect.bottom -= self.thick

            rect.left += self.thick
            rect.right -= self.thick
            return True, 0

        elif msg.message == 0x02E0:  # WM_DPICHANGED
            self.thick = win32_utils.getResizeBorderThickness(int(self.winId()), False)
            self.updateFrame()

        return super().nativeEvent(eventType, message)

if __name__ == '__main__':
    QApplication.setHighDpiScaleFactorRoundingPolicy(
        Qt.HighDpiScaleFactorRoundingPolicy.PassThrough)
    QApplication.setAttribute(Qt.AA_EnableHighDpiScaling)
    QApplication.setAttribute(Qt.AA_UseHighDpiPixmaps)

    app = QApplication([])
    win = Window()
    win.show()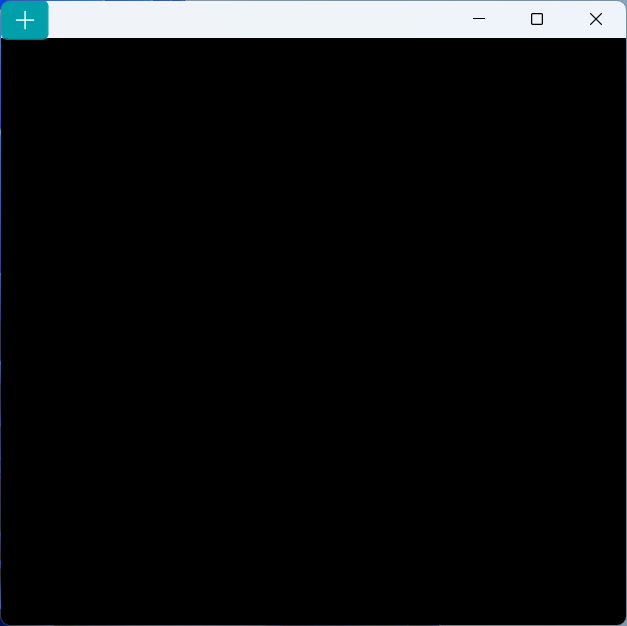
app.exec()再看效果:
来看 __init__ 。增加了 titleBar ,这是 PyQt5-Frameless-Window 中的标准标题栏,有窗口图标、标题,以及三个按钮。在此例中,我们有系统按钮,所以不需要标题栏提供的按钮,将其隐藏。
__init__ 中还有一个 DwmDefWindowProc ,这是一个很重要的 Windows API 函数,由 dwmapi.dll 导出,我们在此声明它的参数和返回值类型,至于它的用途,待会再说。
接下来是一个 setStyleSheet 的调用,清除主题自带的背景;由于 DWM 的特性,系统按钮在窗口控件 Z 序的最下层(背景以下),所以控件或背景会遮住系统按钮。
然后是调整大小,因为添加了控件,如果不调整大小会导致窗口变得很小( StandardTitleBar 的初始大小)。
在 updateFrame 方法中, DwmExtendFrameIntoClientArea 的调用使窗口的上部分延伸下来一个标准标题栏的高度(注意,这里不是硬编码的 32px ,而是从 GetSystemMetrics 函数获取的标题栏的高度再加上调整大小边框的长度)。在这个延伸下来的部分里,系统会提供系统按钮。因此,这也是最重要的部分。
接着, resizeEvent 的处理中的代码只是让标题栏控件能够调整到与窗口宽度相当的大小。
然后就进入了最重要的 nativeEvent !这里调用了 DwmDefWindowProc 函数,它的作用就是响应在系统按钮上的操作,比如进入(鼠标指针悬浮在按钮上)、点击、离开等等。如果没有这一段,系统按钮就只是个摆设,啥也干不了。
这里有一些细节需要说明:
如你所见,类似于 Windows Explorer ,窗口边框成为了白色。这个问题仅会在 Windows 10 中出现,其他版本都不会有:
- 当传入
DwmExtendFrameIntoClientArea的MARGINS中的值都是自然数时,窗口边框是白色的; - 当传入
DwmExtendFrameIntoClientArea的MARGINS中的值有负数时,窗口边框……根本不显示! - 当传入
DwmExtendFrameIntoClientArea的MARGINS中的值都是 0 (也就是默认情况下),窗口边框就是正常的深灰色(可能与主题模式有关)。
- 当传入
最大化的时候,窗口“标题栏”的部分会有
resizeBorderThickness的大小被挤出屏幕外。这可能是为了最大化的时候不让用户调整窗口大小,但是……这操作也太奇葩了吧!就不能直接禁用,非得把能调整大小的区域移到屏幕外?但是微软定下的_规矩_,我们也改不了。为了防止标题栏上的控件不垂直居中,你可以调整标题栏的高度、移动整个窗口的控件、调整布局的contentsMargins(如果有)。实际上,还有一种简单的方法。你可以在处理
WM_NCCALCSIZE的窗口过程中判断当前窗口最大化时调整窗口上端的边距(最大化时四边的边距都可以调整且不会出现奇怪的行为),将其加上一个resizeBorderThickness,这样可以在不修改窗口属性的同时达到效果。可惜的是,这招对含有系统按钮的窗口并不友好,因为在最大化时调整上端边距会导致系统按钮再次停止响应(不知道是不是 bug ),所以只能尝试其它方法。
通过以上的内容,你就拥有了一个包含系统按钮的窗口,这个窗口上的按钮可以跟随主题设置的按钮样式自动切换,快去使用吧!
备注
通过以上方式实现的系统按钮窗口并不完美,因为其并不支持通过点击窗口图标或右键点击标题栏的方式打开系统菜单 。我在 此处 实现了一个包含系统菜单的版本,但是还是有些问题。感兴趣可以来看看!
对于最大化的问题,Chromium 似乎有一个很好的解决方法,但我还没去研究。
TIP
你知道吗?在 Windows 11 上,启动 Chromium 时带有
--enable-features=Windows11MicaTitlebar参数可以启动带有系统按钮的 Chromium !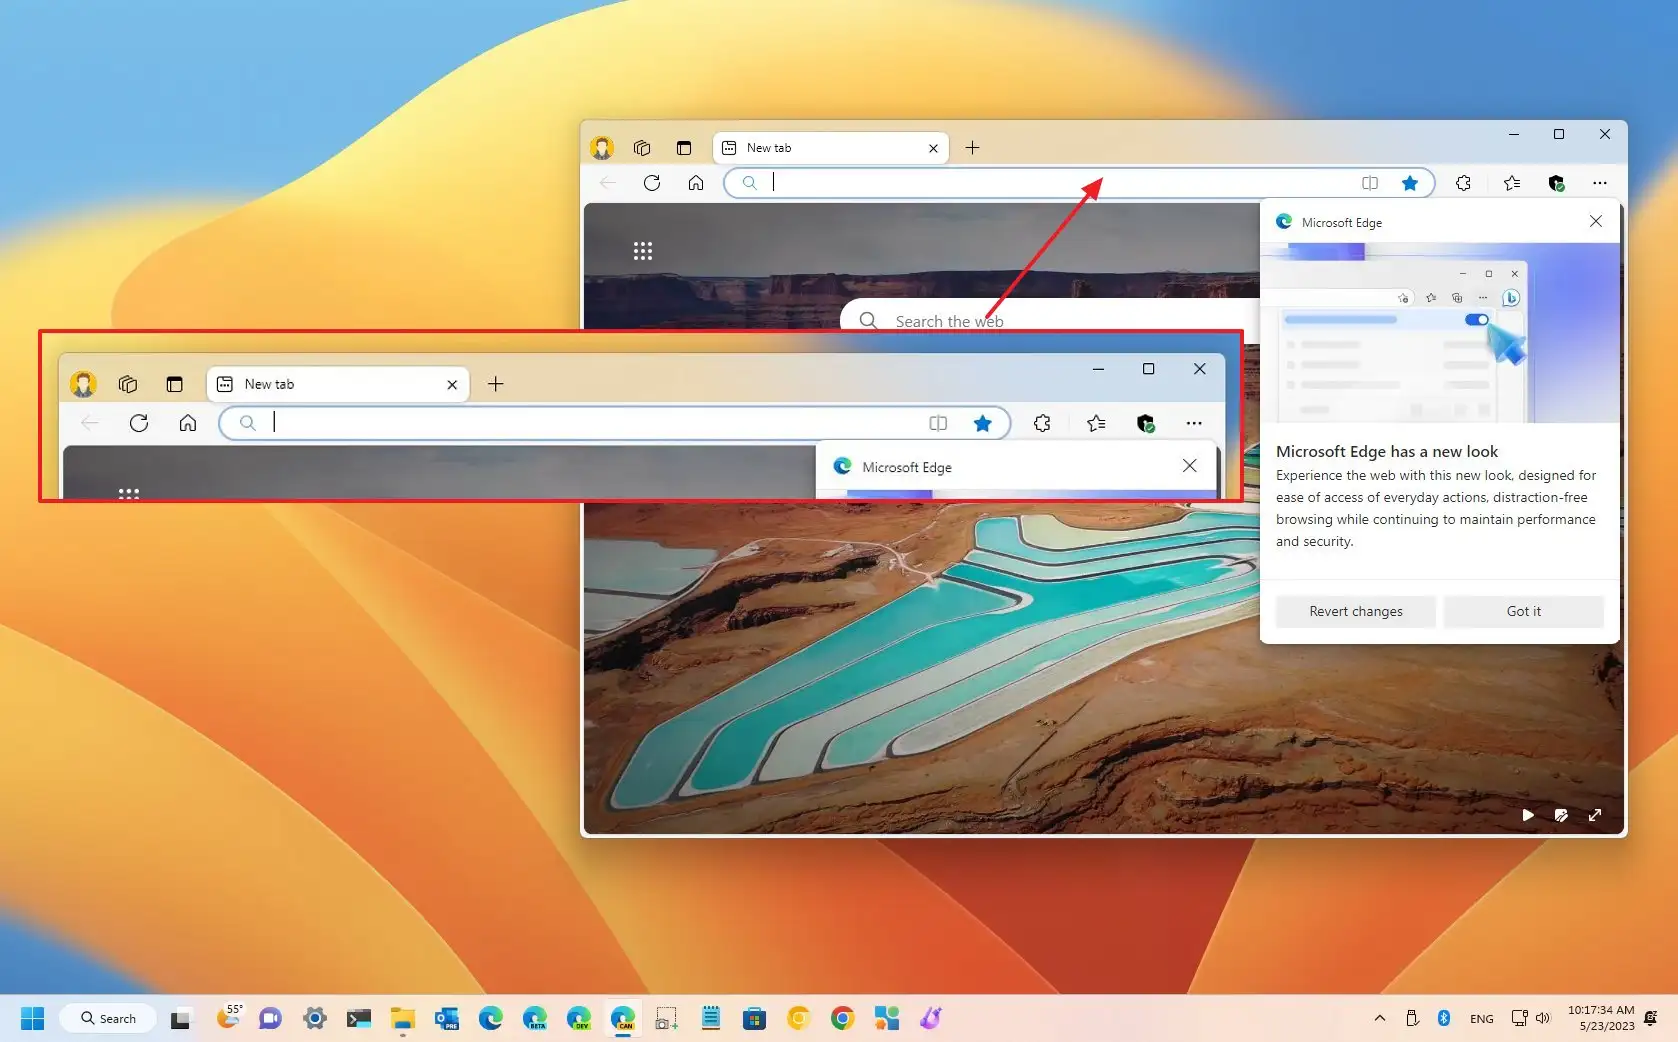
注意:图片中的 Microsoft Edge 也是基于 Chromium 内核的。(我好像不用说)
在 Windows 11 上,上面的窗口可能没有云母(Mica)效果。要开启它,只需要在
__init__的updateFrame调用前加上:pythonif win32_utils.isGreaterEqualWin11(): self.windowEffect.setMicaEffect(self.winId()) # or use self.windowEffect.setMicaEffect(self.winId(), False, True) to enable MicaAlt effect就可以在标题栏上看到 Mica 效果了。有关
WindowEffect的更多信息,参见 window_effect.py。Mica (Alt) 效果