[Windows + PyQt5] 修复带有系统按钮窗口的上端裁剪并添加对窗口深色模式的支持
简介
此文章是对上一篇文章的补充,修复了对于最大化时窗口上端裁剪的问题,并添加了对窗口深色模式的支持。
取消最大化时的窗口上端裁剪
上一篇文章 中提到,窗口管理器在最大化时,为了避免调整大小,会将窗口四周 resizeBorderThickness 大小的区域挤出屏幕,而我们在顶部的这些区域进行了自定义,不想让这些内容被挤出屏幕。更重要的是,我们不能简单的调整客户区大小,因为在最大化时调整客户区顶部位置会使系统按钮停止响应。经过一段时间的探索,我发现了一个既能防止顶部挤出屏幕,又能保证系统按钮能工作的方法,而这个解决方法主要围绕一个窗口消息,和一个结构体展开,分别是:
WM_GETMINMAXINFO 消息和 MINMAXINFO 结构体。
根据 Microsoft 文档,结构体 MINMAXINFO 有以下签名:
typedef struct tagMINMAXINFO {
  POINT ptReserved;
  POINT ptMaxSize;
  POINT ptMaxPosition;
  POINT ptMinTrackSize;
  POINT ptMaxTrackSize;
} MINMAXINFO, *PMINMAXINFO, *LPMINMAXINFO我们只需要关注两个成员: ptMaxSize 和 ptMaxPosition :
ptMaxSize控制最大化时的宽度和高度;ptMaxPosition控制最大化时窗口的坐标。
而这些信息都有默认值供应用程序参考,这些默认值就来自 WM_GETMINMAXINFO 消息。
这条消息的值为 0x0024,其参数如下:
wParam
未使用此参数。
lParam
指向
MINMAXINFO结构的指针,该结构包含默认的最大化位置和尺寸,以及默认的最小和最大跟踪大小。 应用程序可以通过设置此结构的成员来替代默认值。
获取这些信息对于 ctypes 来说非常简单,关键在于如何设置这些值。
在上一篇文章中,我们使用了 PyQt5-Frameless-Window 库以省略一些结构体和实用函数的定义,此库还有一个(对于此文章)非常重要的函数: getMonitorInfo ,其位于 qframelesswindow.utils.win32_utils 模块中。
getMonitorInfo 的实现如下[1]:
def getMonitorInfo(hWnd, dwFlags):
    """ get monitor info, return `None` if failed

    Parameters
    ----------
    hWnd: int or `sip.voidptr`
        window handle

    dwFlags: int
        Determines the return value if the window does not intersect any display monitor
    """
    monitor = win32api.MonitorFromWindow(hWnd, dwFlags)
    if not monitor:
        return

return win32api.GetMonitorInfo(monitor)可以看出,这个函数可以获取显示器的大小信息,按照 GetMonitorInfo 的文档 和 getMonitorInfo 的实现,只需要如此编写即可做出目标的效果:
from ctypes import Structure
from ctypes.wintypes import POINT, MSG
from qframelesswindow.utils import win32_utils
import win32con
# 其它导入...

class MINMAXINFO(Structure):
    _fields_ = [
        ("ptReserved", POINT),
        ("ptMaxSize", POINT),
        ("ptMaxPosition", POINT),
        ("ptMinTrackSize", POINT),
        ("ptMaxTrackSize", POINT),
] def nativeEvent(self, eventType, message):
msg = MSG.from_address(int(message))
if not msg.hWnd:
return super().nativeEvent(eventType, message)
# ......
return True, lRet.value
if msg.message == win32con.WM_GETMINMAXINFO:
mmi = MINMAXINFO.from_address(msg.lParam)
# 获取当前显示器工作区
info = win32_utils.getMonitorInfo(msg.hWnd, win32con.MONITOR_DEFAULTTONEAREST)
work = info['Work'] # (left, top, right, bottom)
mmi.ptMaxPosition.x = -self.thick
mmi.ptMaxPosition.y = 0
mmi.ptMaxSize.x = work[2] - work[0] + self.thick + 1
mmi.ptMaxSize.y = work[3] - work[1] - 1
return True, 0
elif msg.message == win32con.WM_NCHITTEST:
xPos, yPos = win32gui.ScreenToClient(msg.hWnd, win32api.GetCursorPos())
clientRect = win32gui.GetClientRect(msg.hWnd)
w = clientRect[2] - clientRect[0]
h = clientRect[3] - clientRect[1]
bw = self.thick
lx = xPos < bw
rx = xPos > w - bw
ty = yPos < bw
if not win32_utils.isMaximized(msg.hWnd):
if lx and ty:
return True, win32con.HTTOPLEFT
elif rx and ty:
return True, win32con.HTTOPRIGHT
elif ty:
return True, win32con.HTTOP
if hasattr(self, 'titleBar'):
tbh = self.titleBar.height()
tbw = self.titleBar.width()
tbx = self.titleBar.x()
tby = self.titleBar.y()
if tbx <= xPos <= tbx+tbw and 0 <= yPos <= tby+tbh:
if (hasattr(self.titleBar, 'iconLabel') and
self.childAt(xPos, yPos) == self.titleBar.iconLabel):
return True, win32con.HTSYSMENU
return True, win32con.HTCAPTION
# ...... #效果对比(如果看不清可以点开):
| 修复前 | 修复后 |
|---|---|
 |  |
其实这个解决方案有一个不易察觉的小问题:为了防止系统判定成最大化,代码里让顶部和底部都留出了 1px 的空隙(放心,顶部的 1px 用户点不到,只能看),就像这样:
 |  |
|---|
🤓但我个人认为不易察觉的 2px 换引人注目的 8px 还是很值的
添加深色模式支持
从 Windows 10 1903 (内部版本号18362) 开始,Windows 也开始支持深色模式,很多系统应用也添加了对深色模式的支持。在这之中,最引人注目的就是 Windows 资源管理器(以下简称 Explorer)了。毕竟,这可是个 win32 应用啊!既然 Explorer 这个 win32 应用都能使用深色模式,别的 win32 应用还有什么不能的呢?
但是,微软并没有给出完整的API文档,只提供了为 Win32 应用程序启用深色模式标题栏的方法。那别的控件(比如系统菜单)怎么办呢?微软并没有给出方法。不过,在社区的讨论[2][3]中,我发现了启用“完整”深色模式的方法。
SetPreferredAppMode 是一个未文档化、也未按照名称导出的 Windows API 函数,位于 uxtheme.dll 的序号 135,用于设置当前进程创建的窗口的颜色模式。它接受一个整数,用于启用或修改深色模式的效果,取值如下:
enum PreferredAppMode
{
    Default,
    AllowDark,
    ForceDark,
    ForceLight,
    Max
};我们主要关注
PreferredAppMode的三个值:AllowDark、ForceDark、ForceLight。它们分别表示跟随系统主题,强制深色主题,强制浅色主题。[4]
还有一个重要的函数: FlushMenuThemes ,用来在切换主题后更新菜单样式。它同样未文档化、未公开,在 uxtheme.dll 中以序号 136 进行导出。
那这就简单了啊!我们可以直接继承从 qframelesswindow 导出的 WindowEffect 类,并编写辅助函数如下:
from qframelesswindow import WindowEffect
# ...... #

class WindowEffect(WindowEffect):
    def __init__(self, window):
        super().__init__(window)
        self.uxtheme = ctypes.WinDLL('uxtheme.dll')
        self.SetPreferredAppMode = self.uxtheme[135]
        self.SetPreferredAppMode.argtypes = [ctypes.c_int]
        self.SetPreferredAppMode.restype = ctypes.c_int

        self.FlushMenuThemes = self.uxtheme[136]

    def setDarkThemeEnabled(self, hWnd, isDarkTheme):
        # enable dark/light title bar
        self.DwmSetWindowAttribute(
            int(hWnd),
            20,  # DWMWA_USE_IMMERSIVE_DARK_MODE
            ctypes.byref(ctypes.c_int(isDarkTheme)),
            4  # sizeof(c_bool)
        )

        # enable dark/light win32 menus
        self.SetPreferredAppMode(2 if isDarkTheme else 3)
self.FlushMenuThemes()这样直接在主函数里调用即可:
class Window(QWidget):
    def __init__(self, parent=None):
        super().__init__(parent=parent)
        self.windowEffect = WindowEffect(self)
        # ...... #

        if ...:
            self.windowEffect.setDarkThemeEnabled(self.winId(), True)
            # 别忘了更改标题文本的颜色!
            self.titleBar.setStyleSheet('QLabel{color:white}')
# 如果使用了 qfluentwidgets ,也别忘记 setTheme 哦!效果如下:
| 激活 + 系统菜单 | 未激活 | |
|---|---|---|
| 窗口化 | 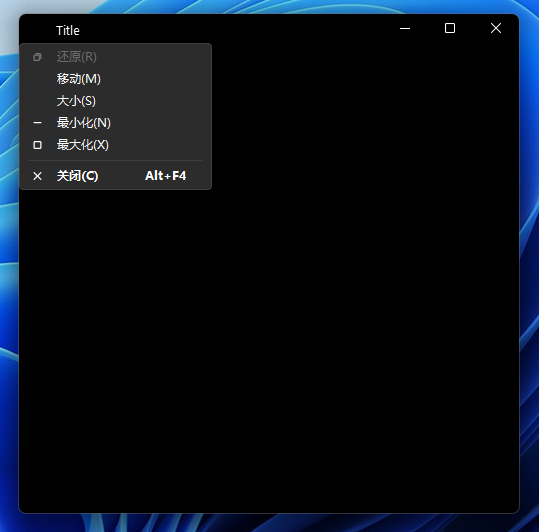 | 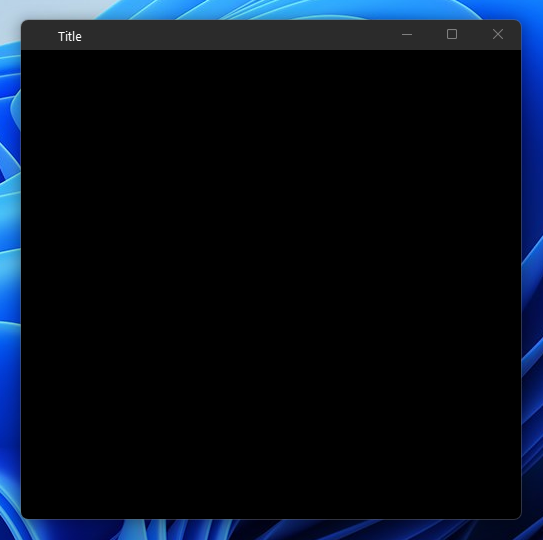 |
| 最大化 | 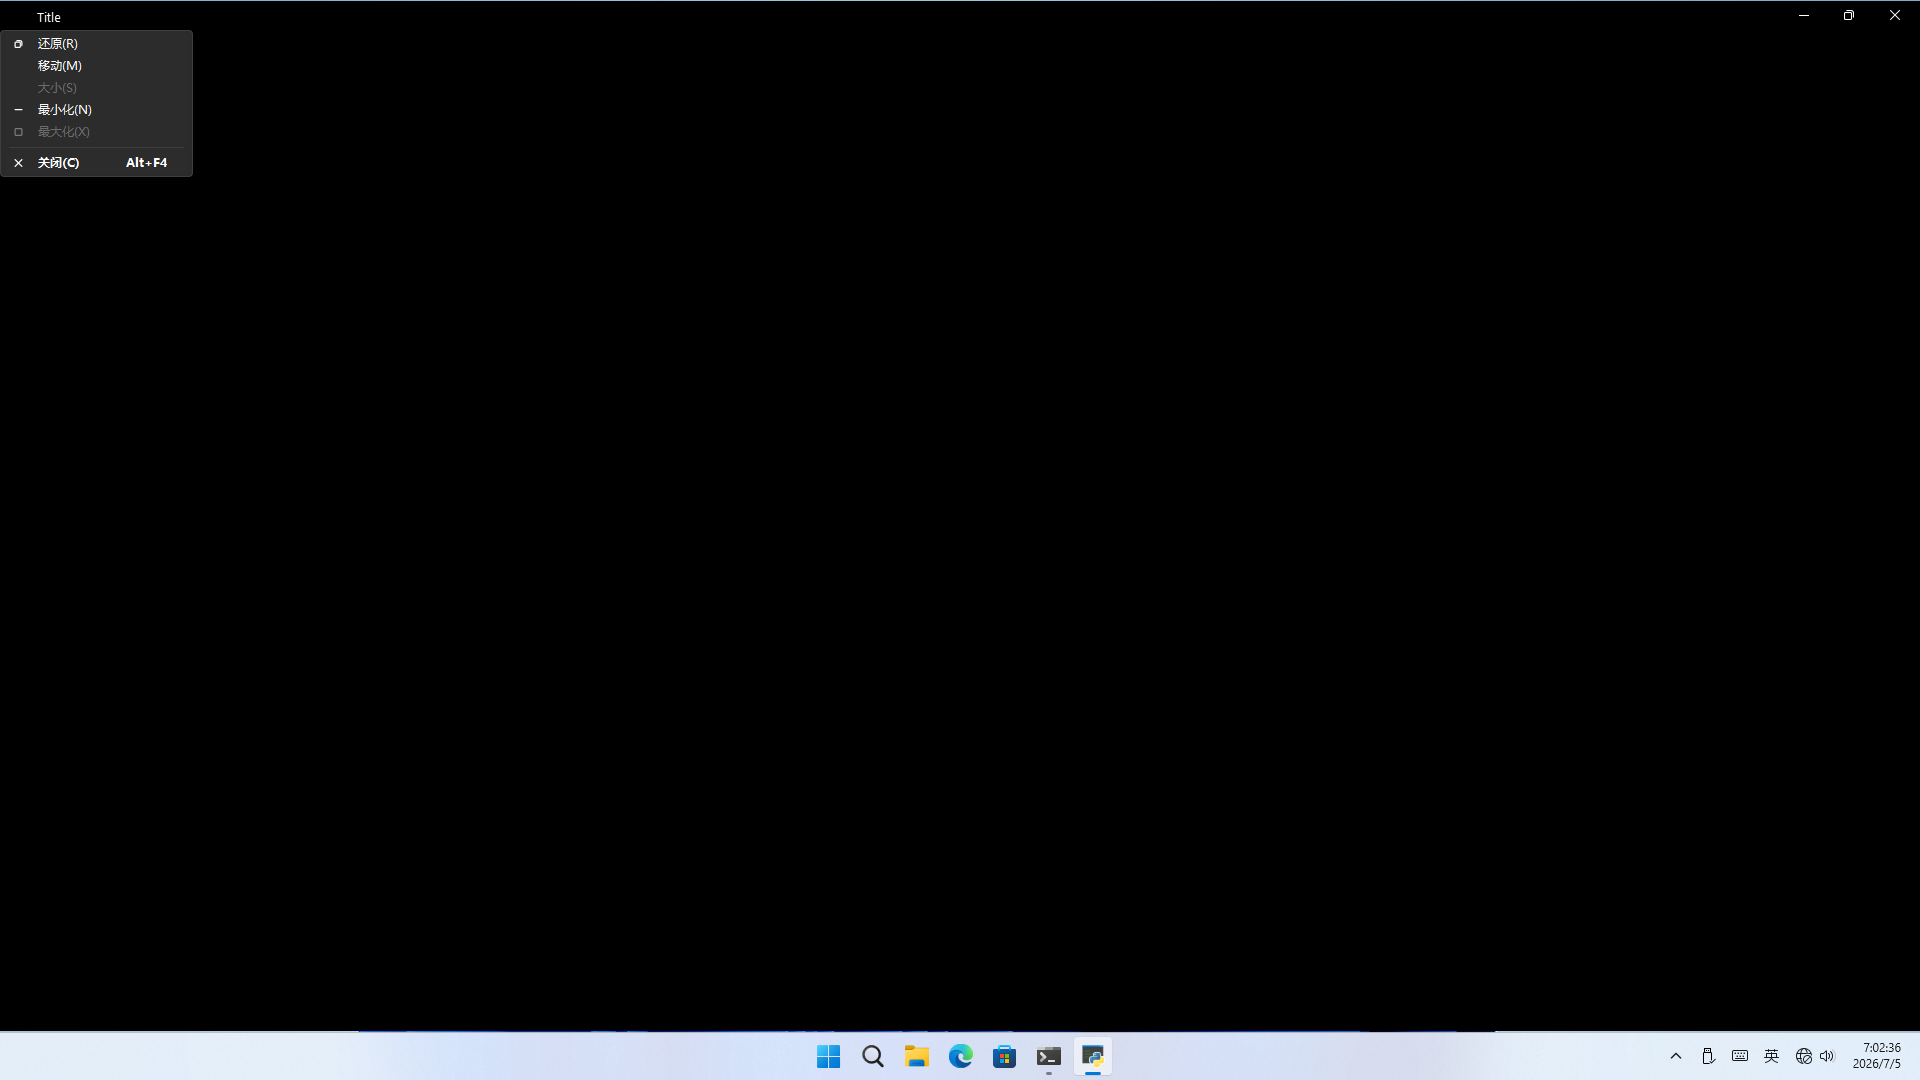 | 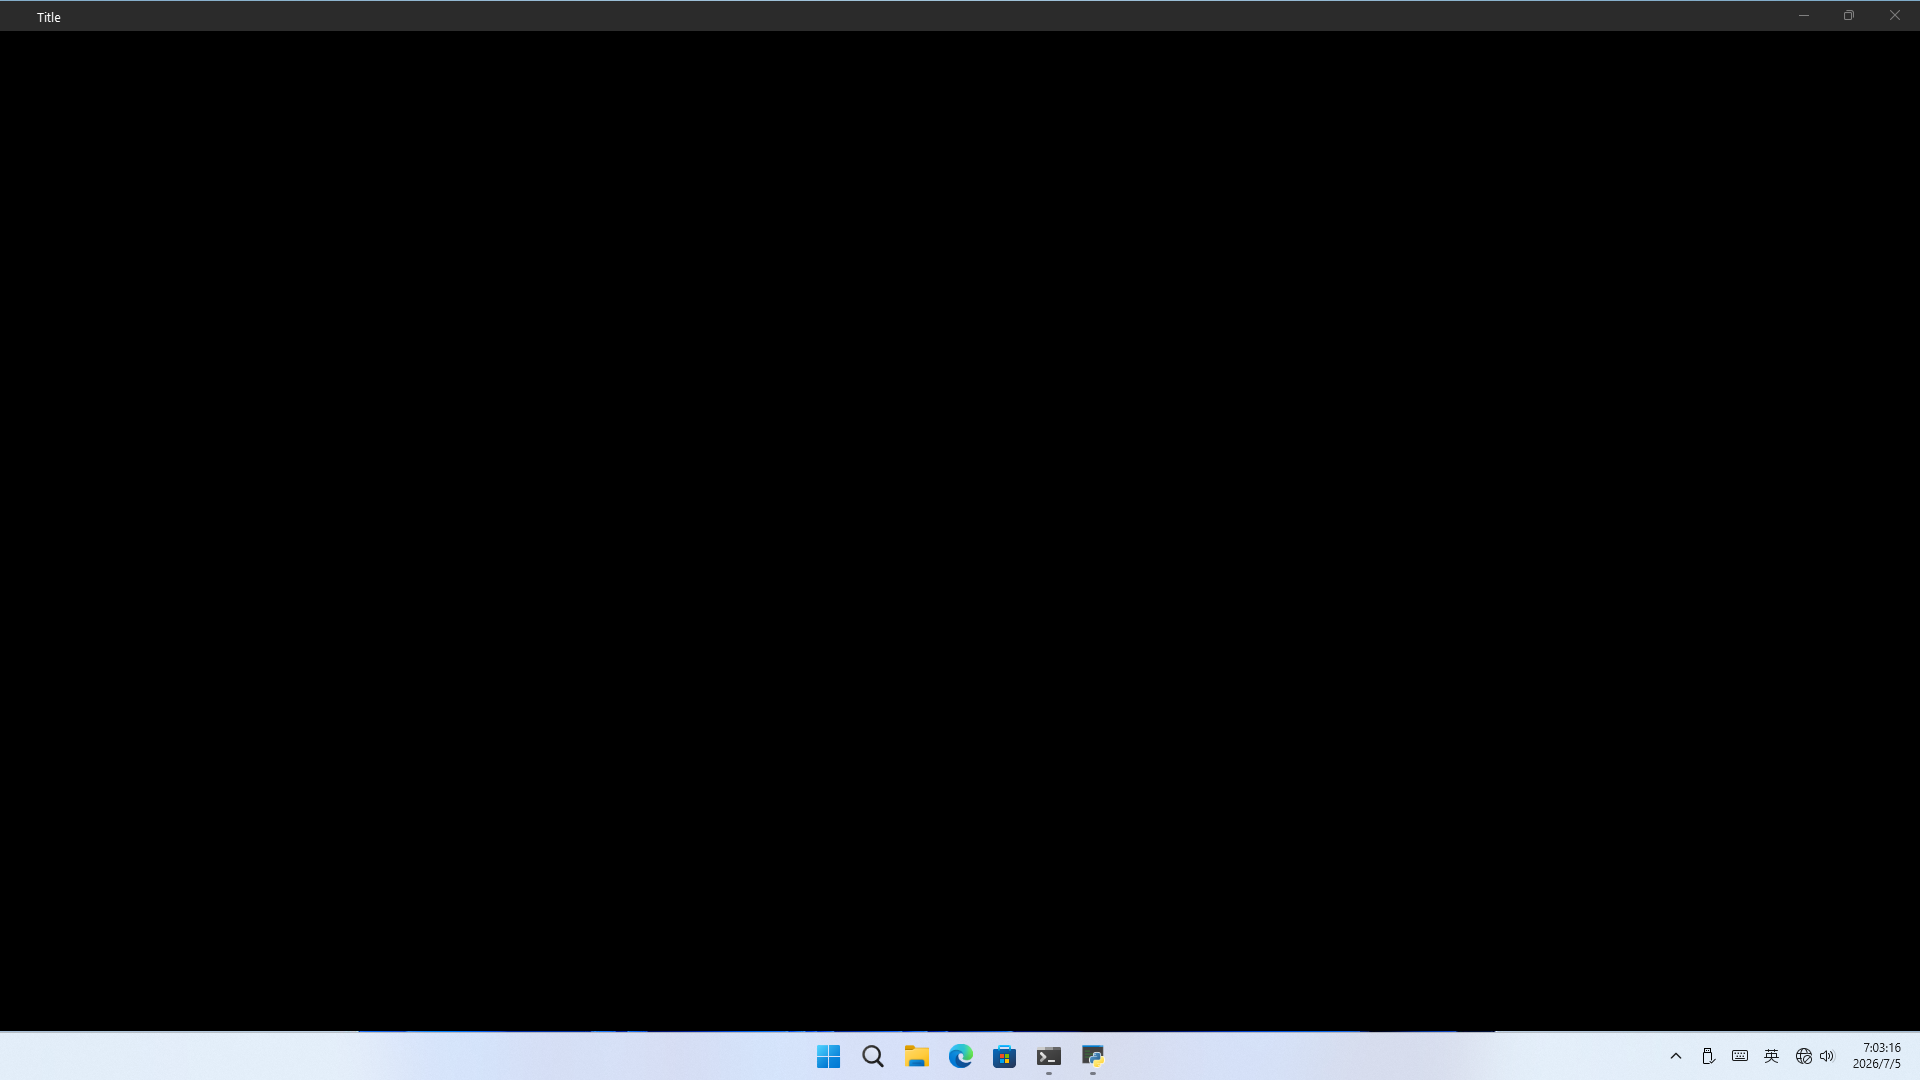 |
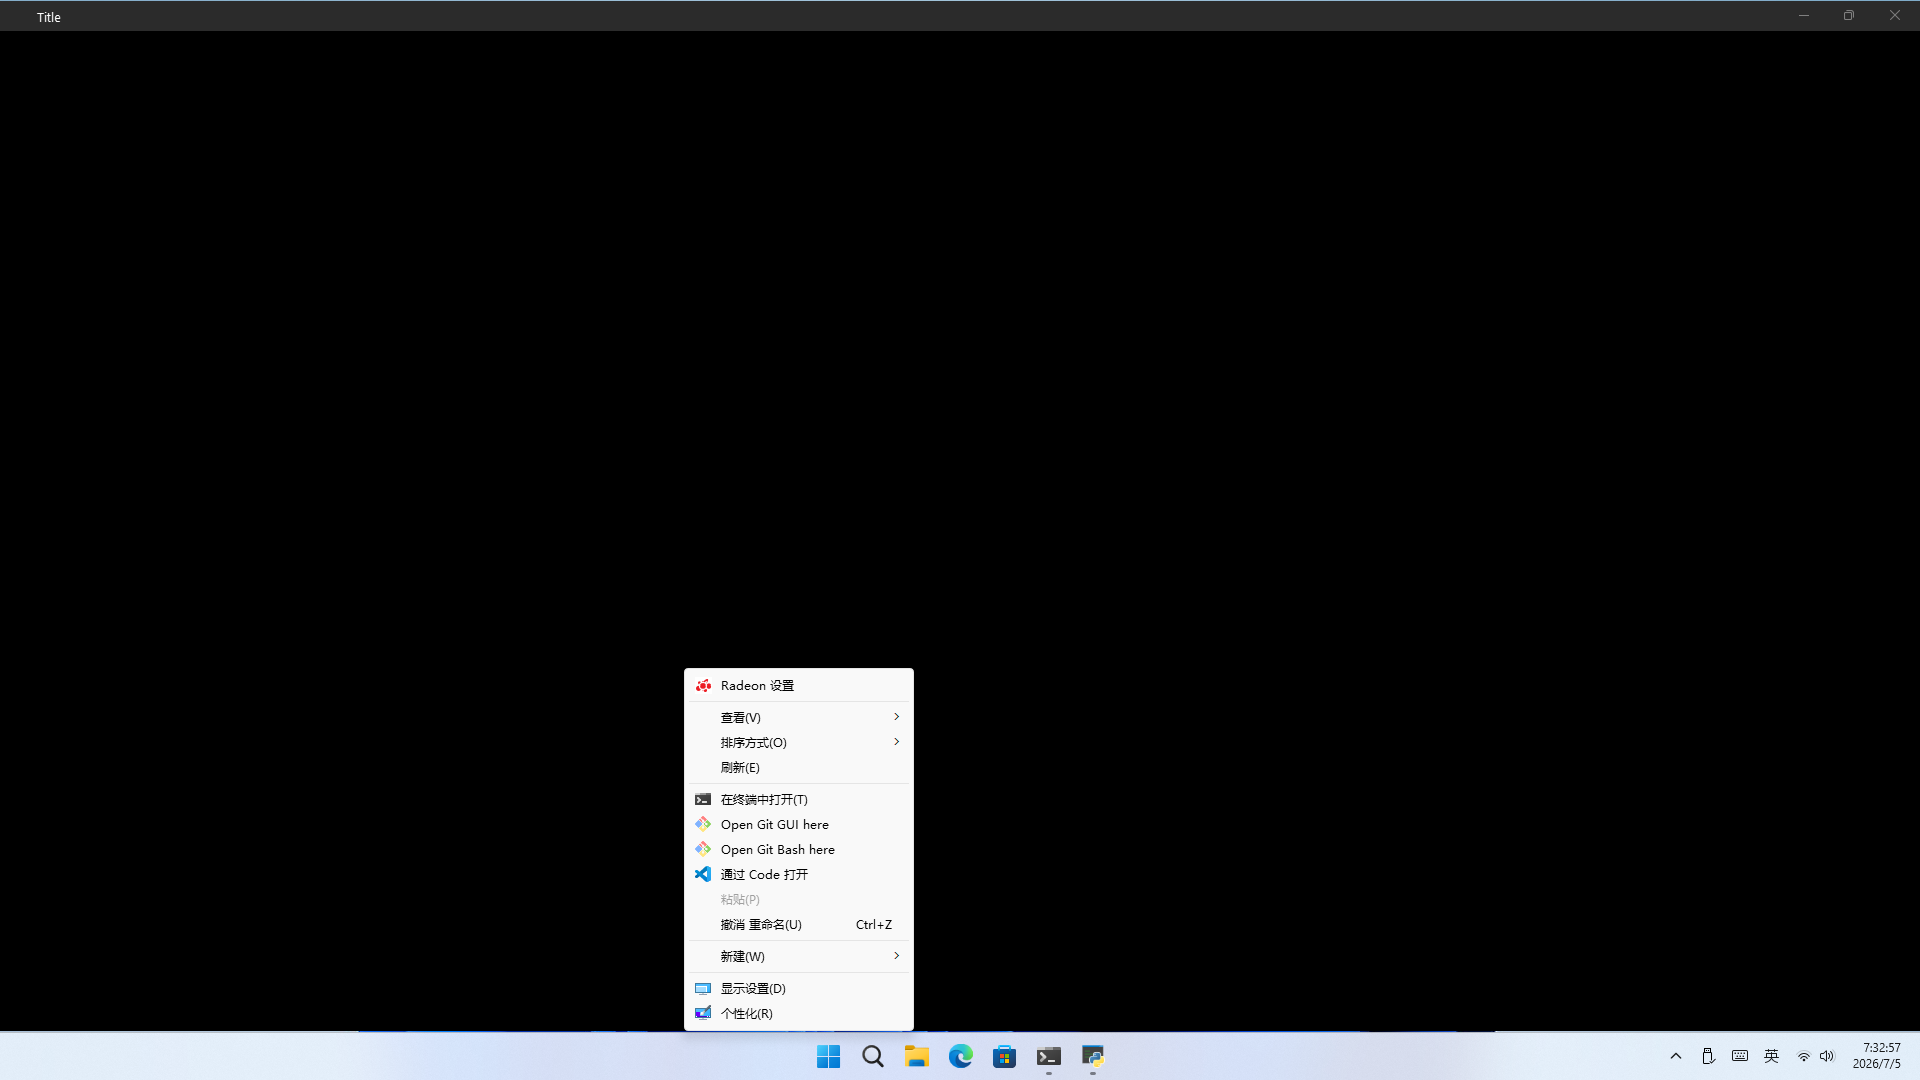
🤔看起来顶部的 1px 有点明显啊…… 不管了,反正用户都开深色模式了,桌面背景肯定也是深色的🤓
从底部裁剪的 1px 点出桌面菜单
到目前为止的所有代码可在此处下载。
--- The END ---